PwnieExpress are an instantly recognizable name in the penetration testing community. They have developed custom penetration testing distributions for the Raspberry Pi, SheevaPlug, Nexus 7, and most impressively the Nokia N900.

While PwnieExpress's handiwork is impressive, the "PwnPhone" boasts a steep price tag of $995. The company however has released a community image (freely downloadable) for regular N900 owners.
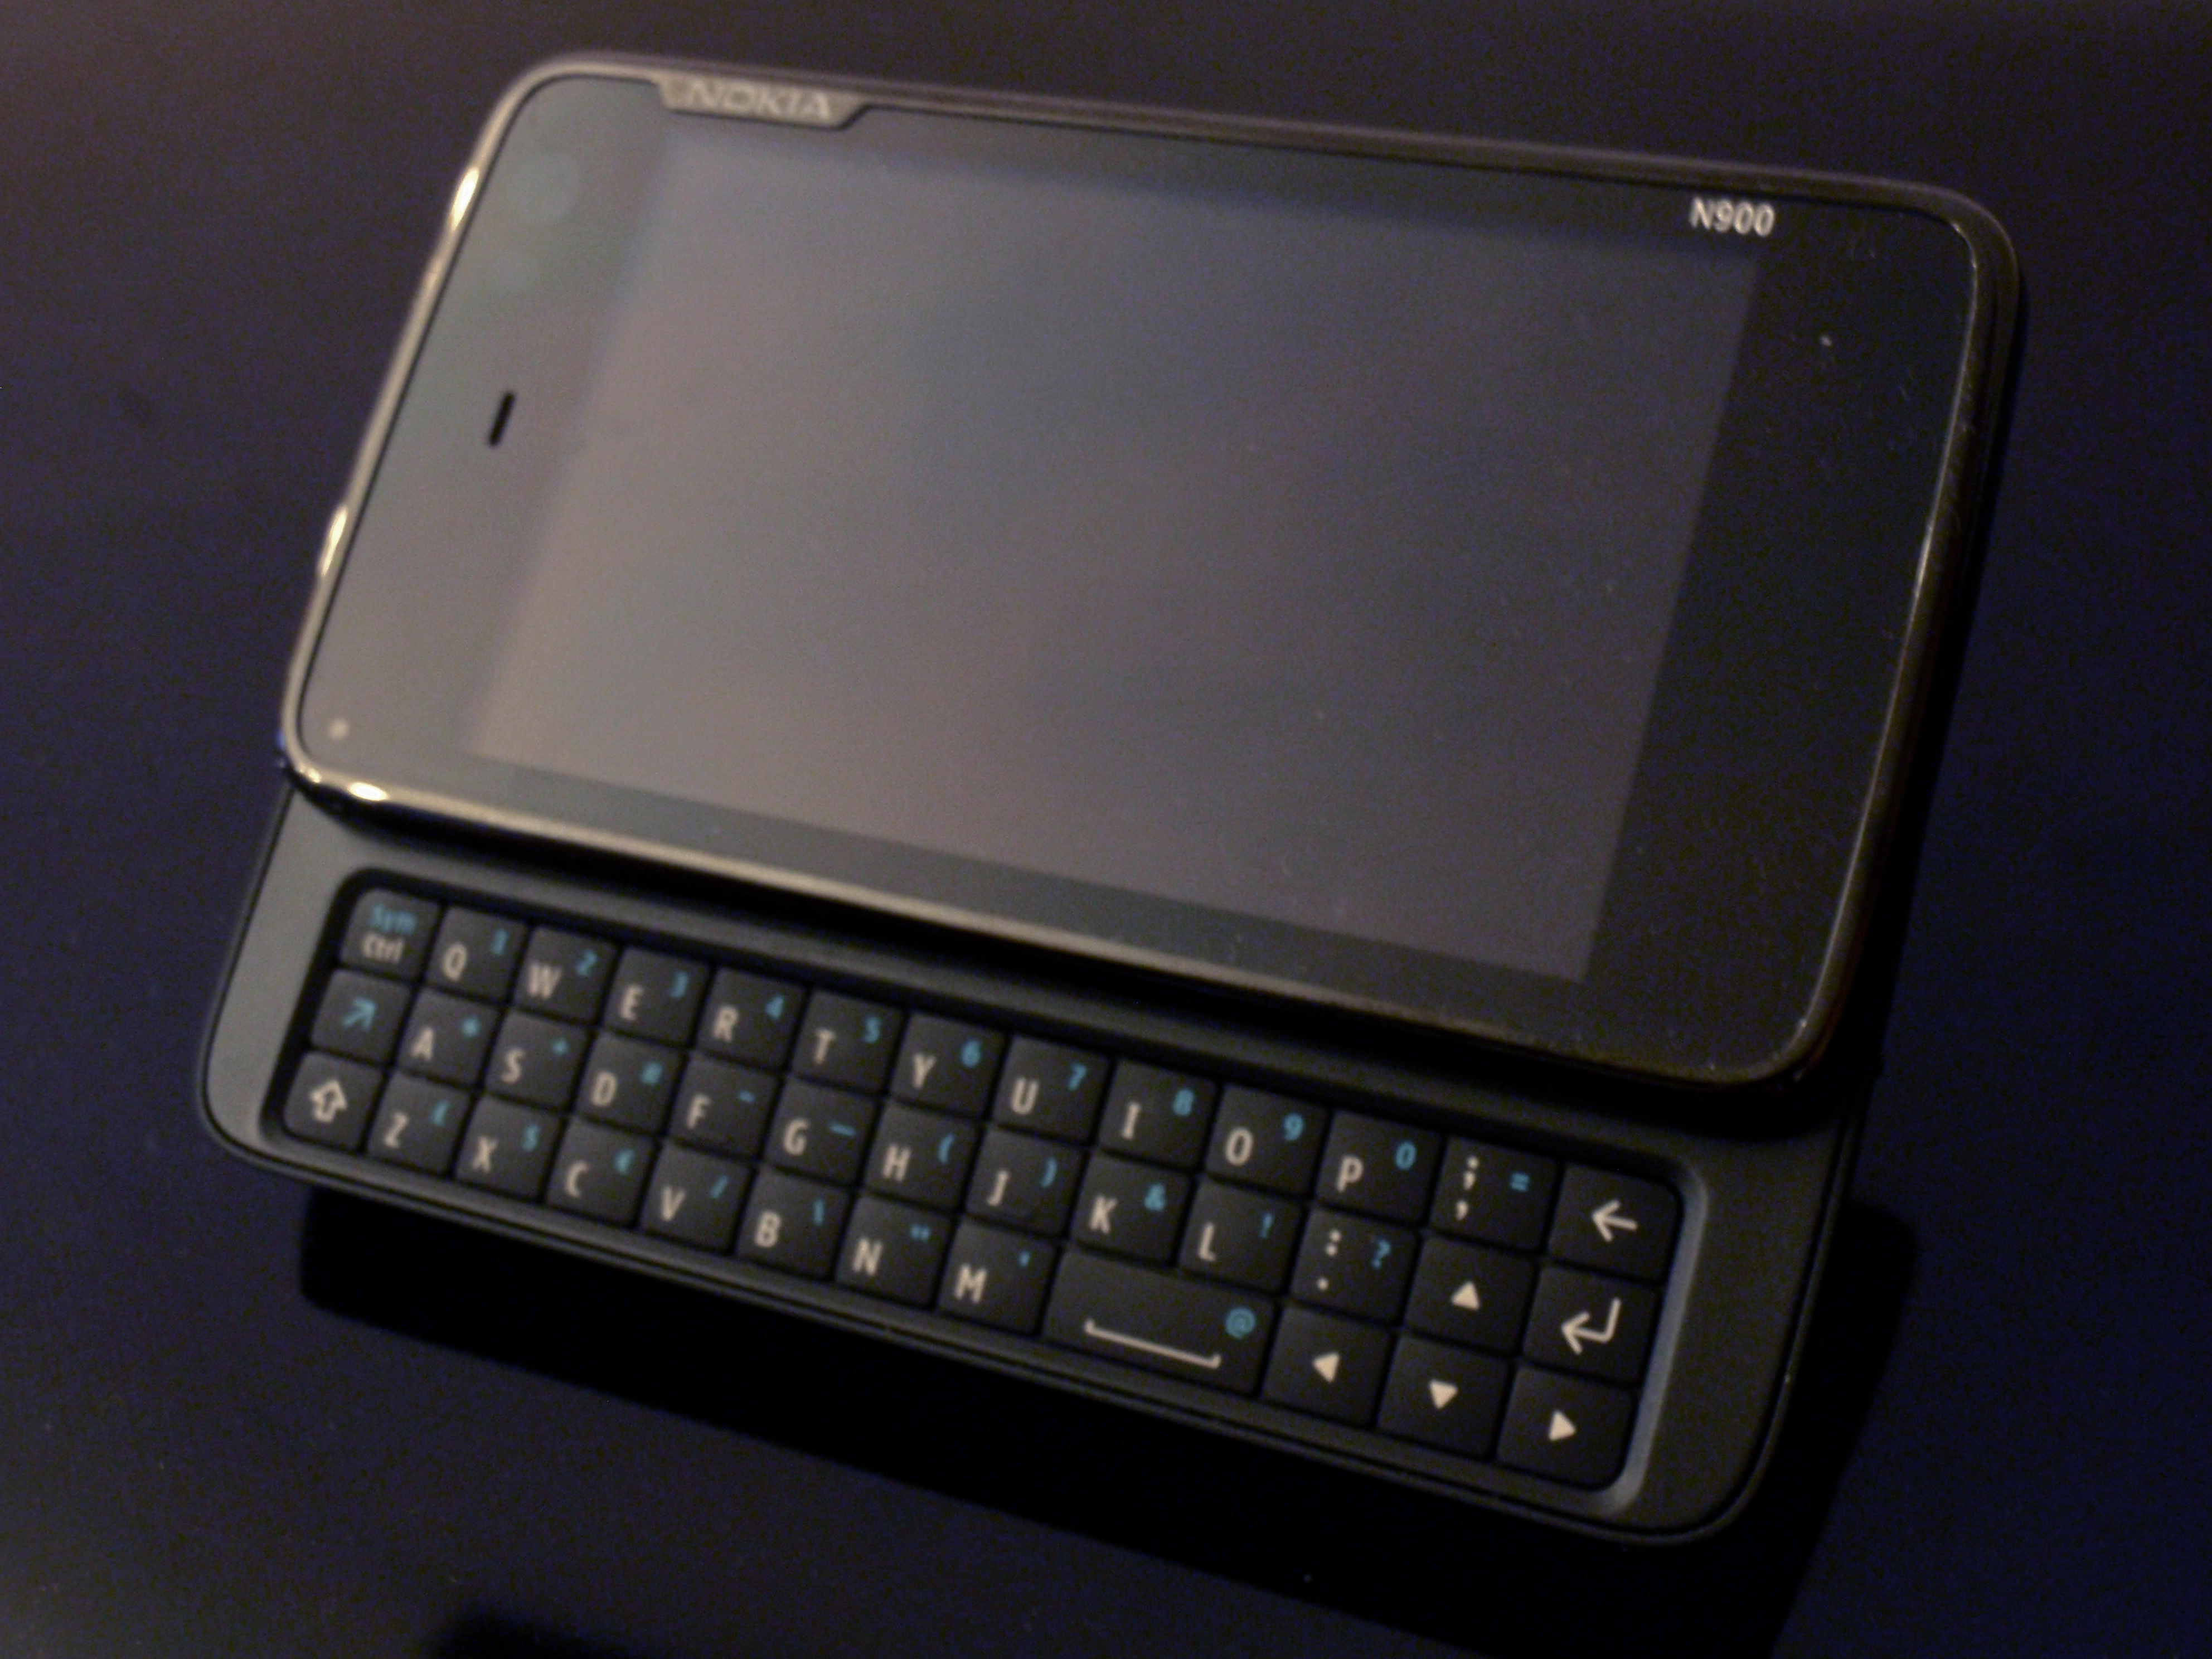
Taking advantage of this, I decided to buy a used N900 on Ebay and image it myself.
I have had the unfortunate experience of having to do this process twice. My first PwnPhone was stolen while in Oakland, California along with my Lenovo X1 Carbon and all my school books.
While a detailed installation guide is provided on their website, I encountered a plethora of increasingly difficult problems. I hope that this guide helps you to both navigate and potentially avoid these difficulties.
Step 1: Buying your N900

Be scrupulous and careful. N900's sell for hundreds of dollars on Amazon. Try to pick one up on Ebay.
Don't think it is all smooth sailing when you buy an N900 that the owner claims he has "already installed pwnphone image on". When I bought my second N900 that is what the seller claimed. He obviously installed it wrong because several apps were broken and the time and date configuration screen appeared on every boot and set itself back to New Years 2009 every time.
Step 2: Prep for Firmware Flashing
A detailed guide to this can be found here https://wiki.maemo.org/Updating_the_firmware.
The PwnieExpress install guide instructs users to flash their N900 with the latest rootfs and emmc images available here.
Find the LATEST rootfs image and the LATEST emmc image. They are buried in the list.
Put both files on your desktop and name them to something convenient and short. (ex. rootfs and emmc)
You will also require a specific flashing utility depending upon your OS. They can be found here.
Now comes a big problem. Every operating system I tried to flash the phone with had problems.
Problems
- My ubuntu-based Linux distribution had a hard time installing the flasher, as it was dependent upon some 32-bit USB libraries. You can work around this by manually finding them and installing them. Think it is libusb32.
- Windows 64-bit. The workaround on Maemo's flashing guide did not work for me, but you can attempt it if you like. But really... if you are going to be hacking, penetration testing and so on, you should know how to use Linux. Hell, the N900 is a Linux-based phone. It's free, there are tons of distributions and it will save you problems now and in the long run. (Dual-boot/Live CD)
- The DMG installer for OSX is broken past OSX Mountain Lion. Use this short fix. http://blog.omgmog.net/post/factory-reset-nokia-n900-from-a-mac
Step 3: Firmware Flashing
Once you have everything ready, slide out the keyboard and hold the letter u key on the keyboard. While holding it down, plug the phone into the computer. A dim NOKIA screen should appear with a USB icon in the top right corner.
Now issue this command to flasher in your command prompt or terminal.
flasher-3.5 -F <rootfs-image> -f
After it completes issue this command.
flasher-3.5 -F <emmc-image> -f
After it completes issue this command.
flasher-3.5 -F <rootfs-image> -f -RDo not allow the phone to boot up until the very end.Step 4: Download and Install the Image
Download the PwnPhone image from here:The file you have downloaded should have two folders. System Backups and pwnimage.The PwnieExpress installation guide tells you to put these files on a microSD card. DON'T.For a number of reasons:
- The SD card reader on the phone is terrible and flimsy you will get frustrated and you might break it.
- Many, many, many people have the issue that the phone does not recognize or show the SD card. This is because the phone deactivates the SD card unless the back cover is on the phone. It activates the SD card with a small magnet contained in the back cover. This is a terrible design flaw.
- You will corrupt the SD card rendering it completely useless, have to buy another one, and have more problems.
Instead, power up the phone and then connect it to your computer. It will ask whether you want to put the phone into Mass Storage Mode or PC Suite Mode. Select Mass Storage Mode. The phone should now appear on your computer.Head into the pwnimage folder and right click the install.sh script. Open the file with your favorite text editor.Find all 4 or 5 of these lines and change them to Throughout the document you should several points where it says cd /media/mmc1/pwnimage/"Some name here"Replace all the of the /media/mmc1/pwnimage/ with home/usr/MyDocs/pwnimage/Save the file and exit the text editor.Copy or Drag pwnimage and System Backups to the N900. It may take a while to copy.Once it is finished SAFELY EJECT THE PHONE FROM THE COMPUTER.If you do not know how to do this, look it up. It does not mean pulling it out slowly.Unplug the phone, tap the top left corner and go to the File Manager application.Select Nokia N900 and scroll down until you see rootsh_1.8_all and tap it, this will bring up application manager, tap 'I accept' and 'continue' (sometimes you may have to wait a little while for it to come up)
Once rootsh is installed EXIT Application Manager and File ManagerTap upper left hand corner until apps are shown, scroll down and tap Xterminal, then enter the following commands: sudo gainroot cd /MyDocs/pwnimage chmod 777 install.sh sh install.sh Once install.sh is running be prepared to click 'I accept' and 'continue' to install different packages that require interactive authorization to install. This should only happen twice once in the beginning of the script and once at the very end. The main pwnphone folder will take a while to copy, over an hour, so just let it go and come back or wait patiently, it is working. When the script is done, it will anounce that it is rebooting shortly after the second install prompt. When it reboots, it is CRUCIAL that the keyboard is slid out to trigger the backup menu utility for restoring the pwnphone image.When the backup menu loads hit r on the keyboard and then choose to backup the optfs AND rootfs.Choose the appropriate files and then let the phone do its magic.You are done. The phone should have a scary green bootup screen.PWNIE EXPRESS INSTRUCTIONS:
Sir I need help in install.sh scripts please
ReplyDeleteHello , could u give the instructions of changing some lines in the install.sh more clearly ..
ReplyDeleteI didn't understand this part "Find all 4 or 5 of these lines and change them to Throughout the document you should several points where it says cd /media/mmc1/pwnimage/"Some name here"
It just means create your own subdirectory with whatever name you want
ReplyDelete